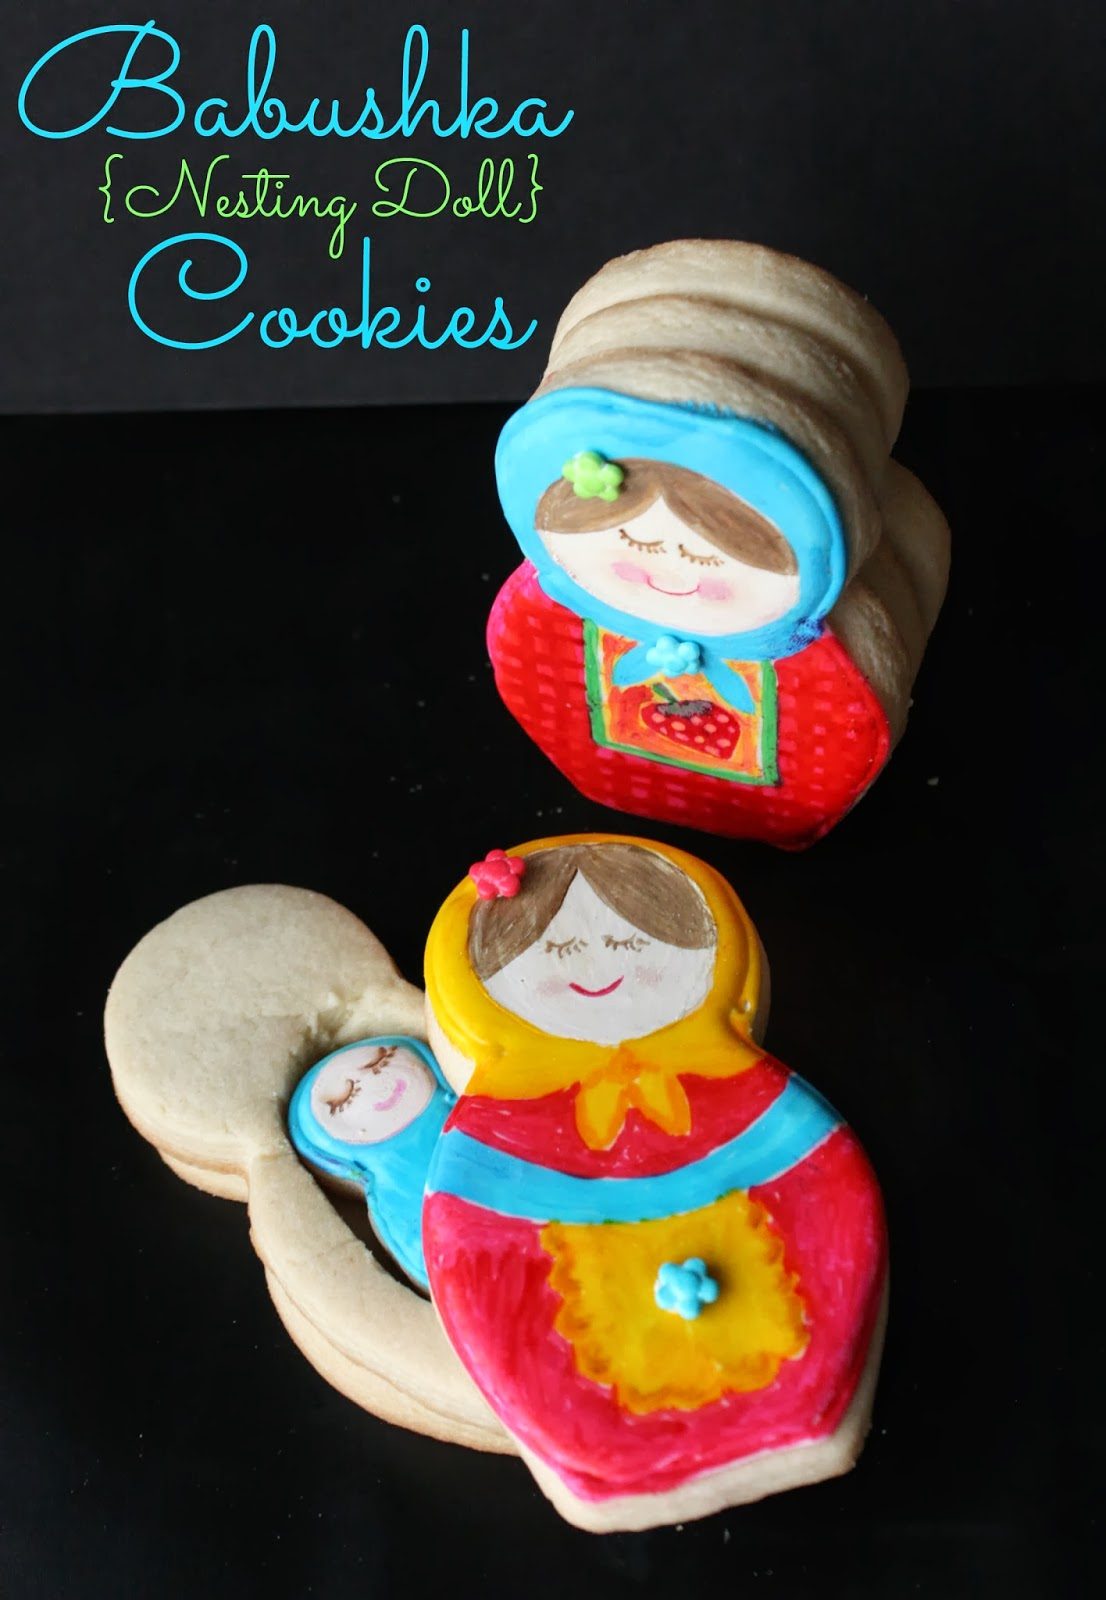
Another name for the Babushka doll is matryoshka, but I prefer to use the former for a couple of reasons: It’s easier to spell and it reminds me of the Armenian half of my heritage:) Many family photos of my mom’s side included the women wearing babushkas (head scarves), especially in the “old country”. Perhaps that’s why I have a soft spot for these Nesting dolls and have posted more photos than usual:)
 Have you ever seen Project Denneler’s pinata cookies (BTW, does anyone know how to make a tilde-wavy line-over the “n”)? So very clever! Well, when I decided to finally make some Babushka cookies, I wanted to bring the “nesting” feature into the cookie, and thought of the pinata cookies! These cookies are adapted from that idea.
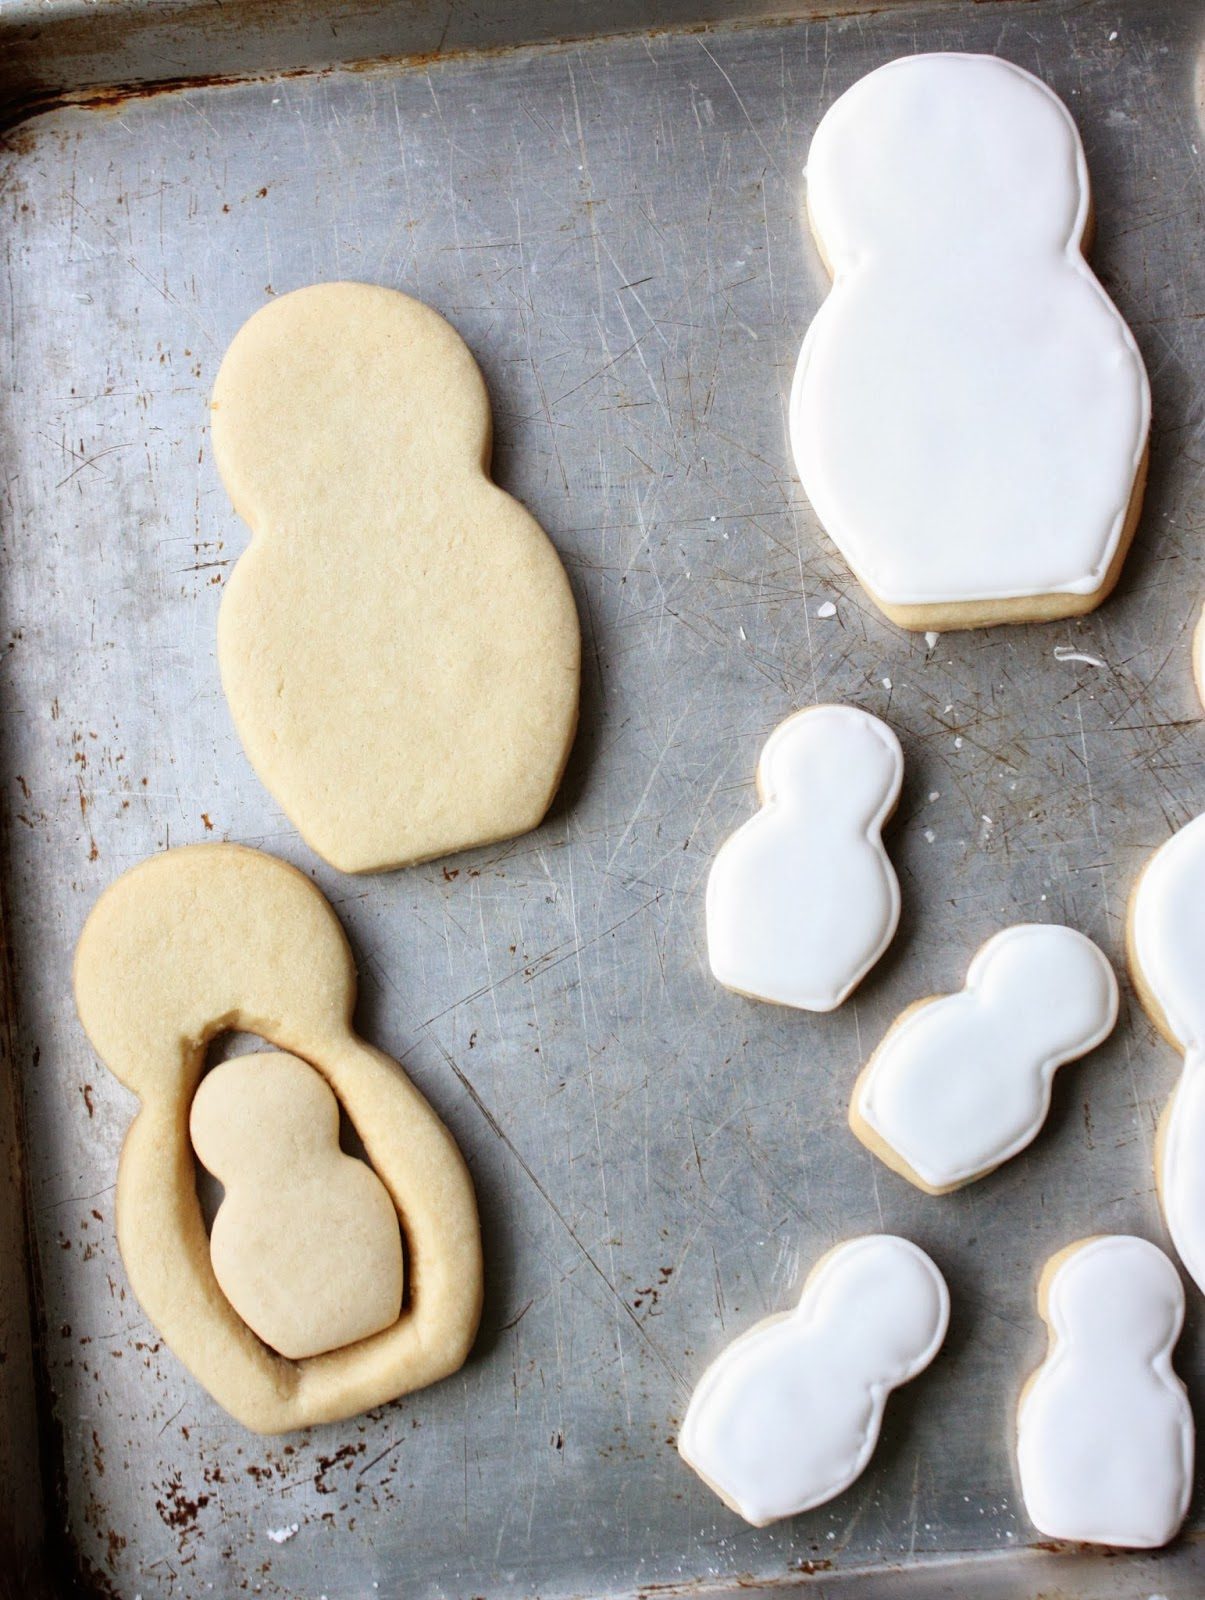
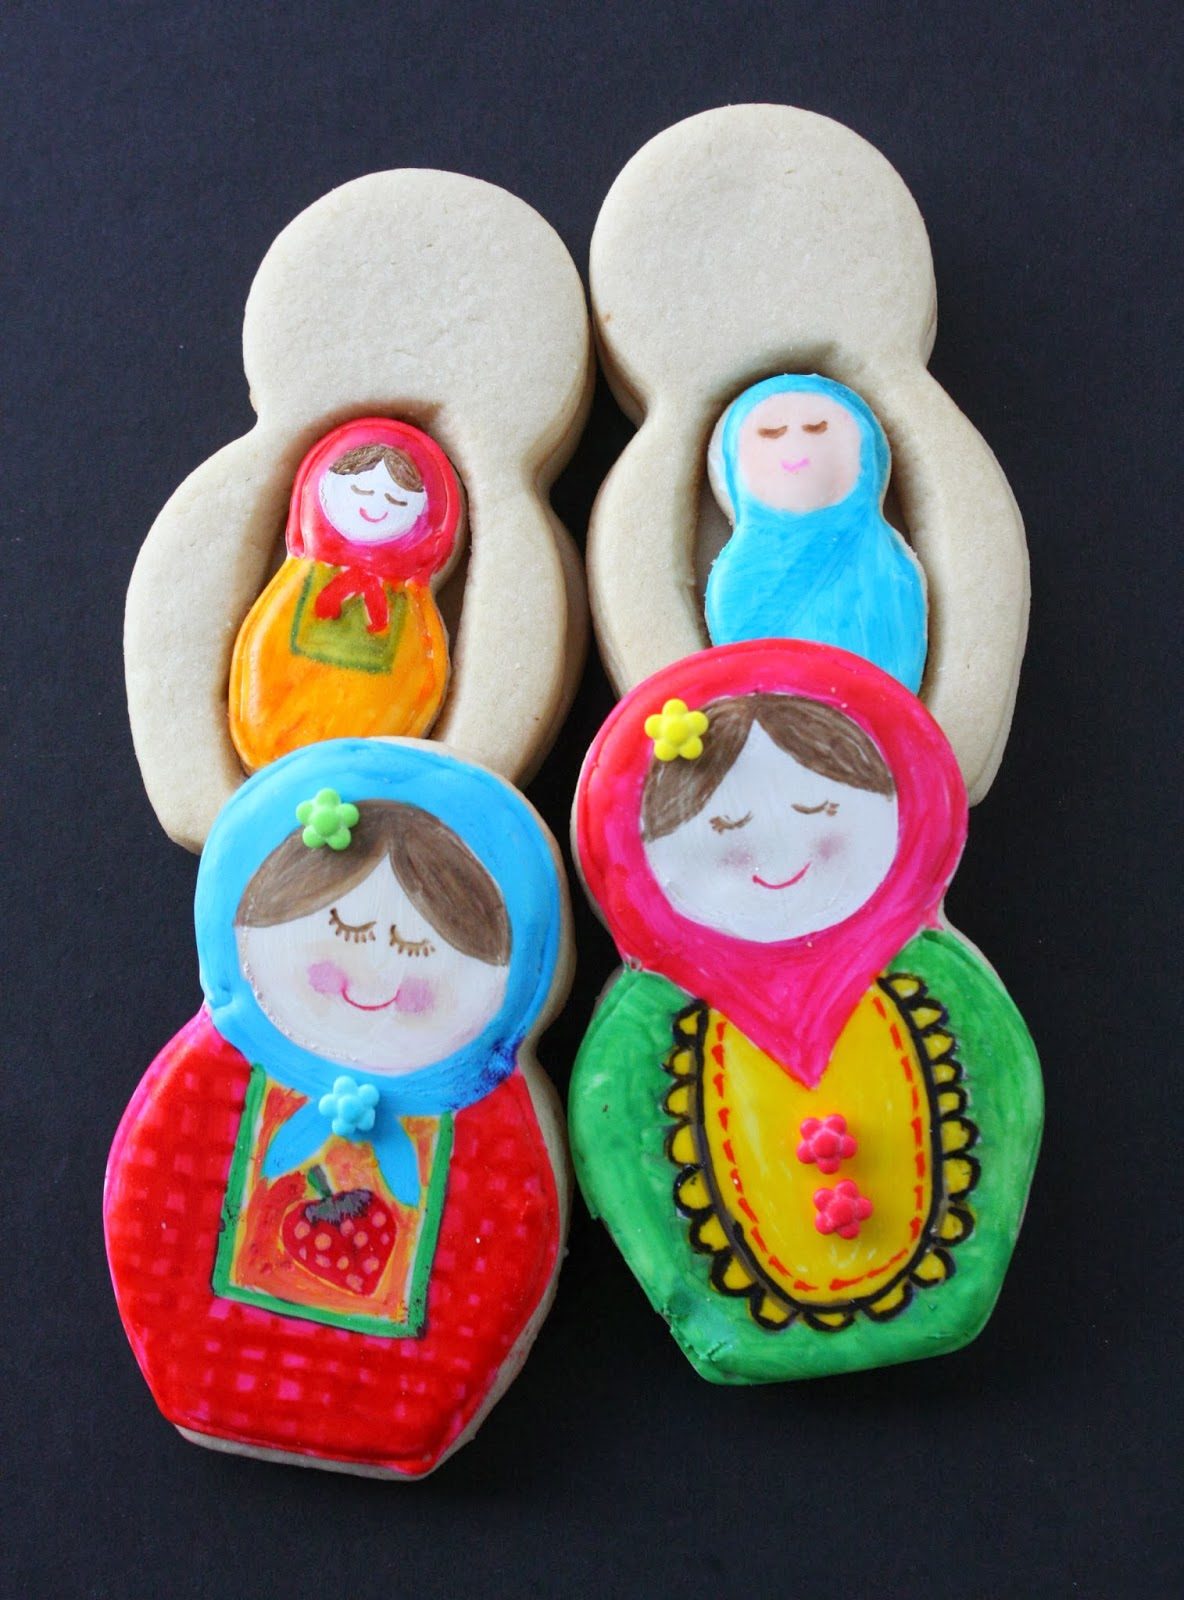
I cut the opening in the body of the middle cookie with a sharp knife before baking. Maybe I should have done it right from the oven after baking (as I noticed in the pinata cookie later), while the cookie was soft, to ensure an easier, better fit. It worked out fine though, because I used the same sharp knife for shaving a bit of the inner edges away from the opening after they cooled.
Next time I will also roll out a thinner cookie for the “baby” cookie. (The truth is, I had the smaller cookies already baked before my idea was fully formulated, but didn’t want to make more (thinner) cookies right then.
Each cookie was iced with white royal icing (and completely dry) before I “painted” it with food coloring gels. Initially, I was going to decorate with royal icing, but decided to paint, which is more like the original, wooden Babushka dolls. The round faces on the larger cookies were made by first tracing with an edible marker around a round cutter. For the smaller cookies, I used the wide part of a decorating tip to make the circle for the faces.. A combination of ivory (mostly) and brown was used to paint the base color for the faces.
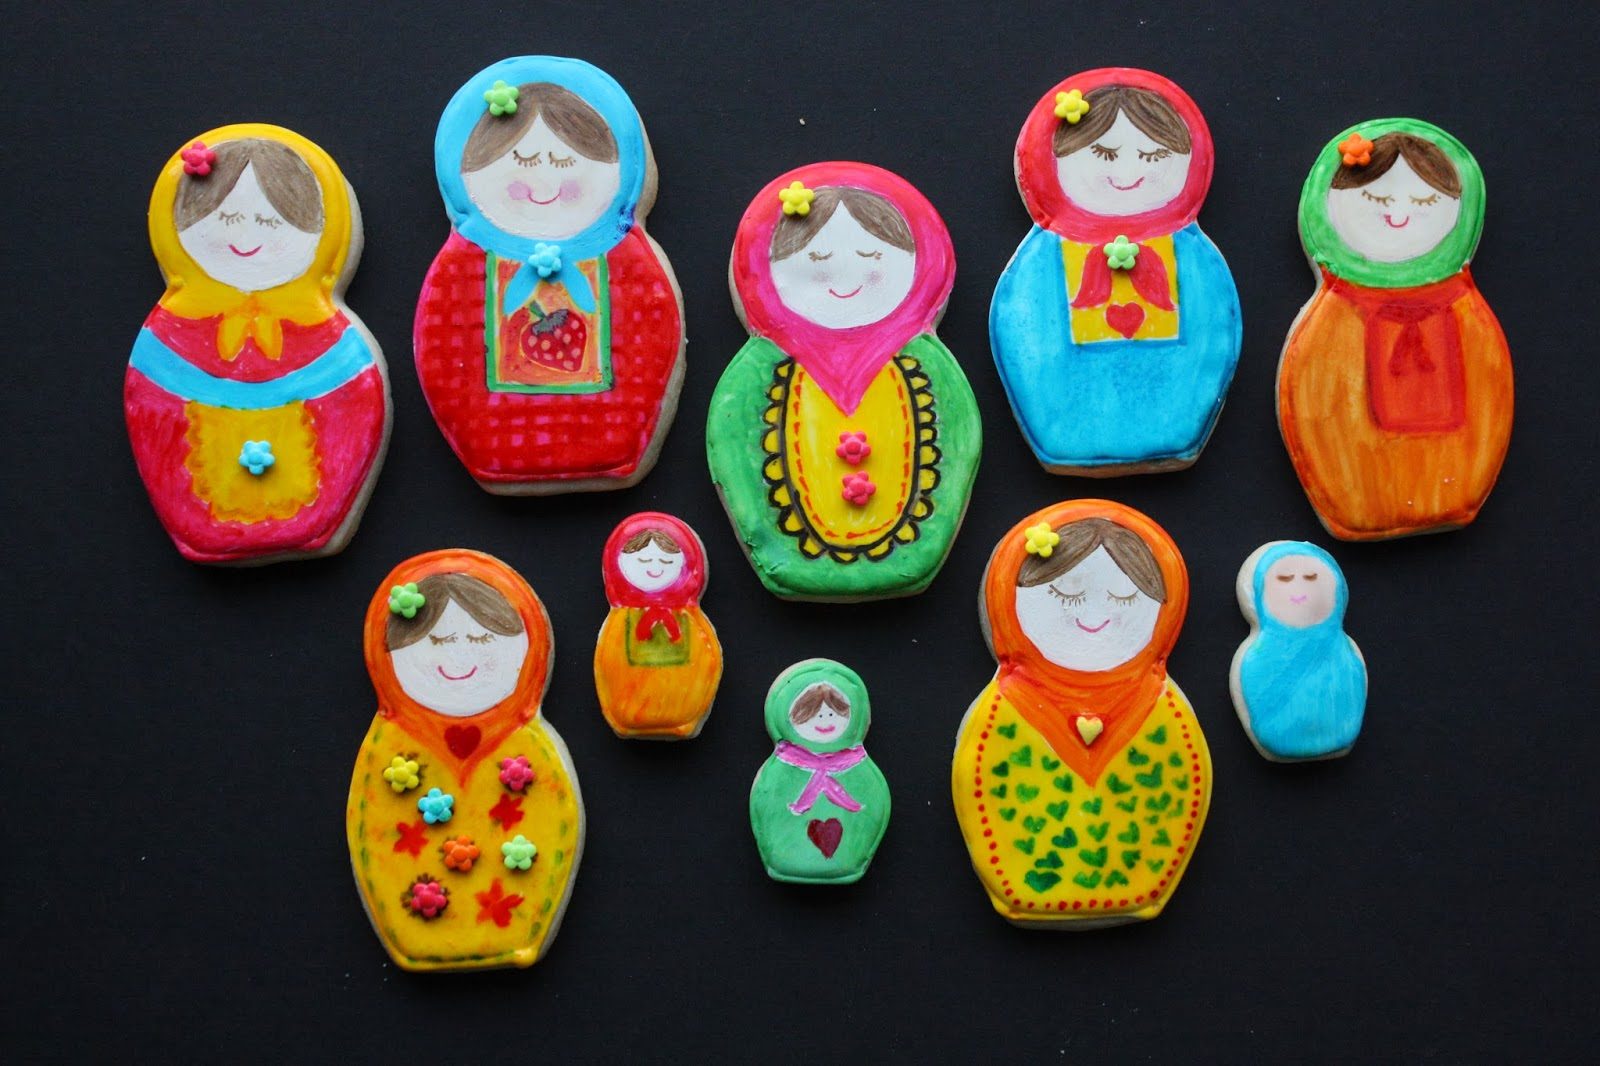
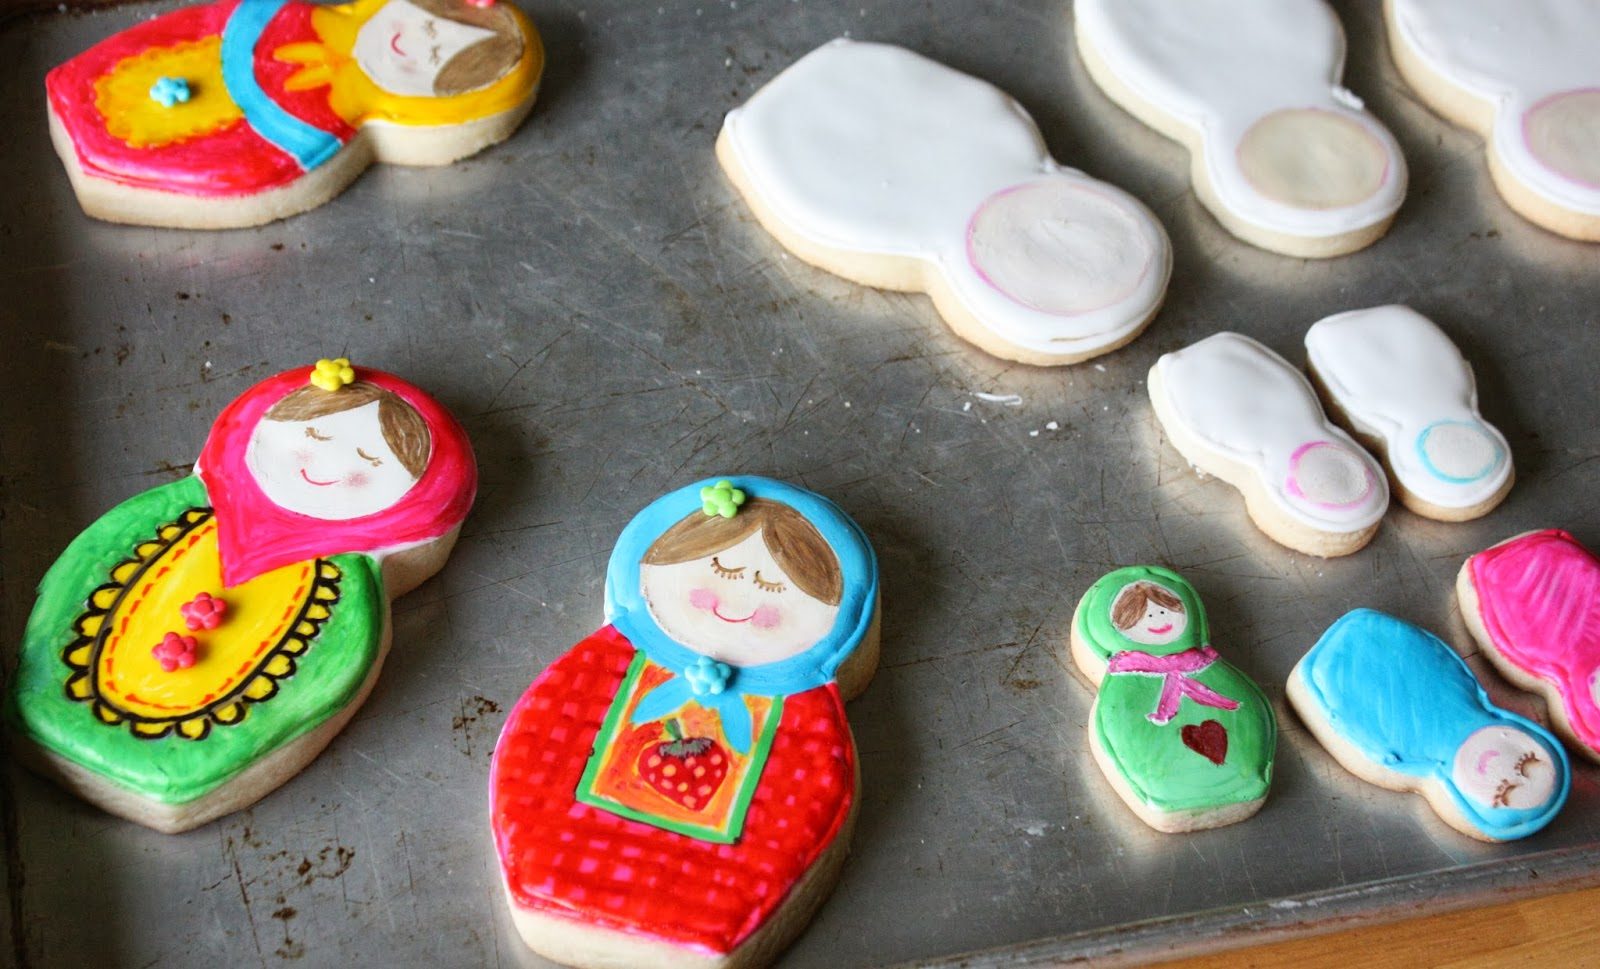
After the base layer dried, I painted the cookies, trying to make each unique. It was so much fun! I guarantee I will be making these cookies again! The colors are so cheerful and vibrant.
After the colors dried, I used royal icing around the edges to adhere the three cookies together, with the small cookie first set into the middle one.
These would be so cute for a baby shower, or even a gender reveal celebration, with the baby inside wrapped in either a blue or pink bunting.
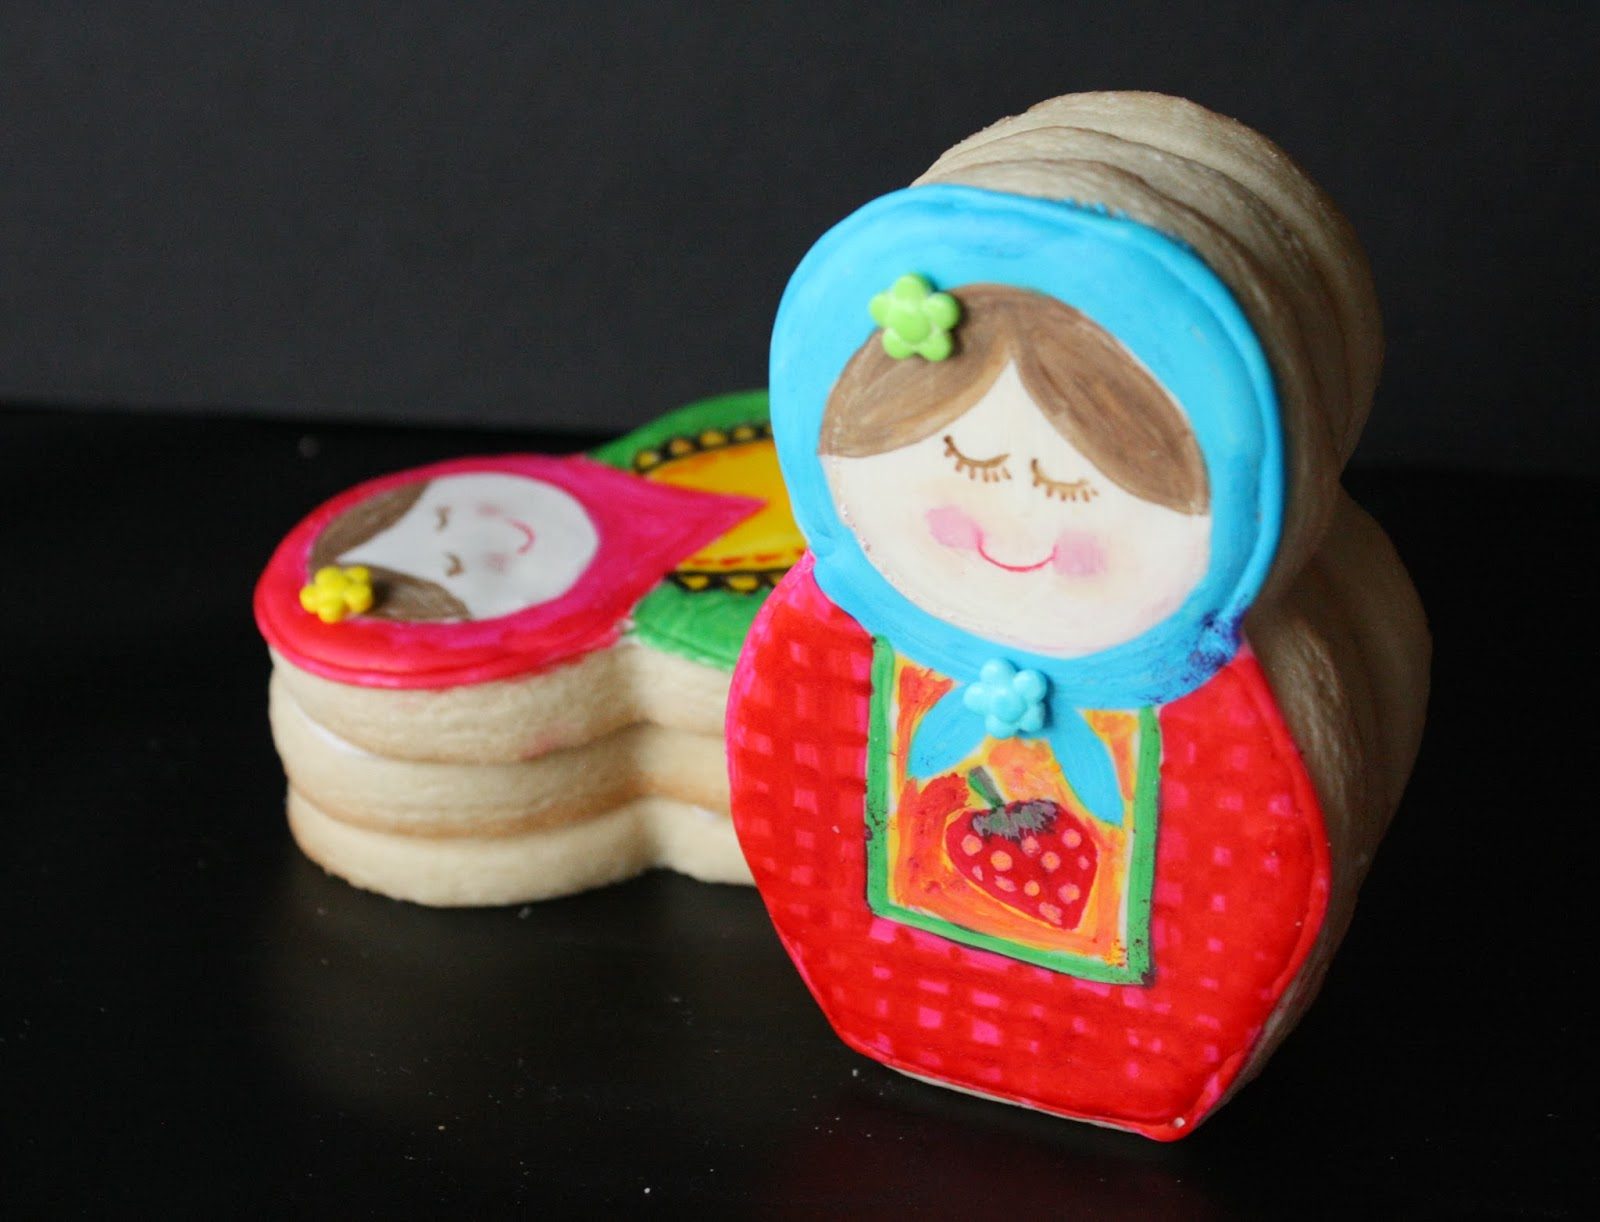
After the cookie is dry, it can stand up just like the real deal! It may look like a lot of cookie, but just think of it as the cookie version of a slice of three-layer cake:)
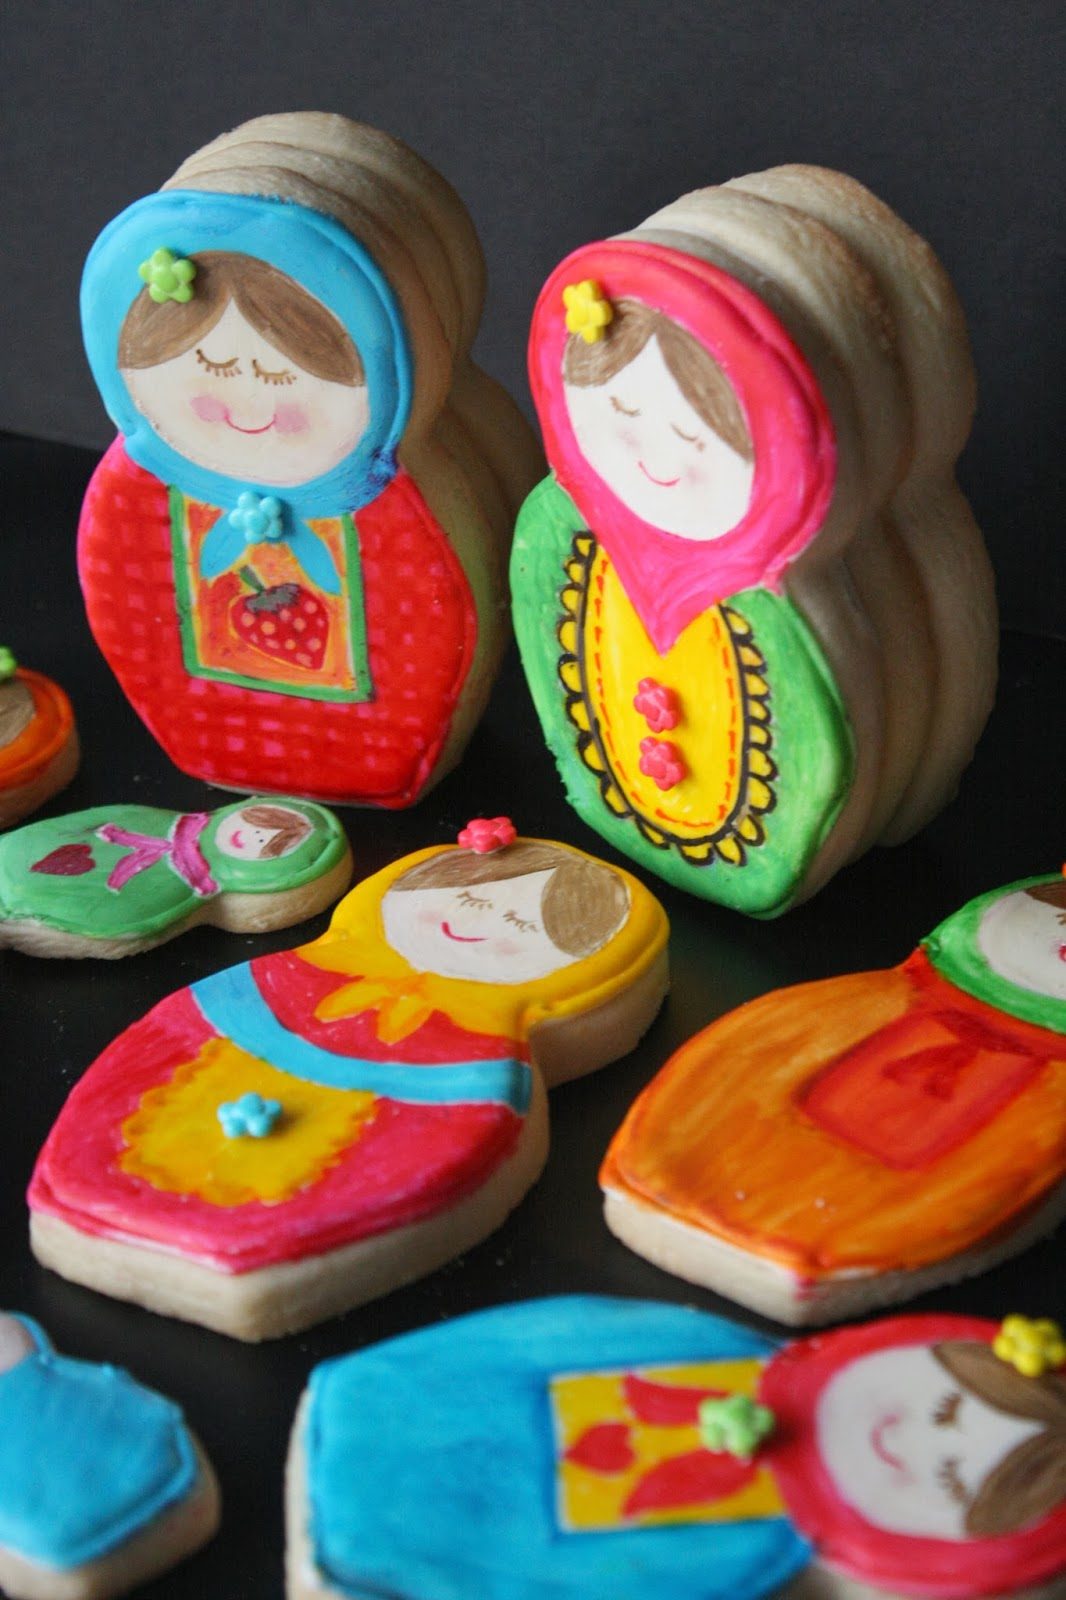
To dress up the gals, use some flower sprinkles (or hearts) to embellish and some pink disco dust for the cheeks (applied with a cotton swab).
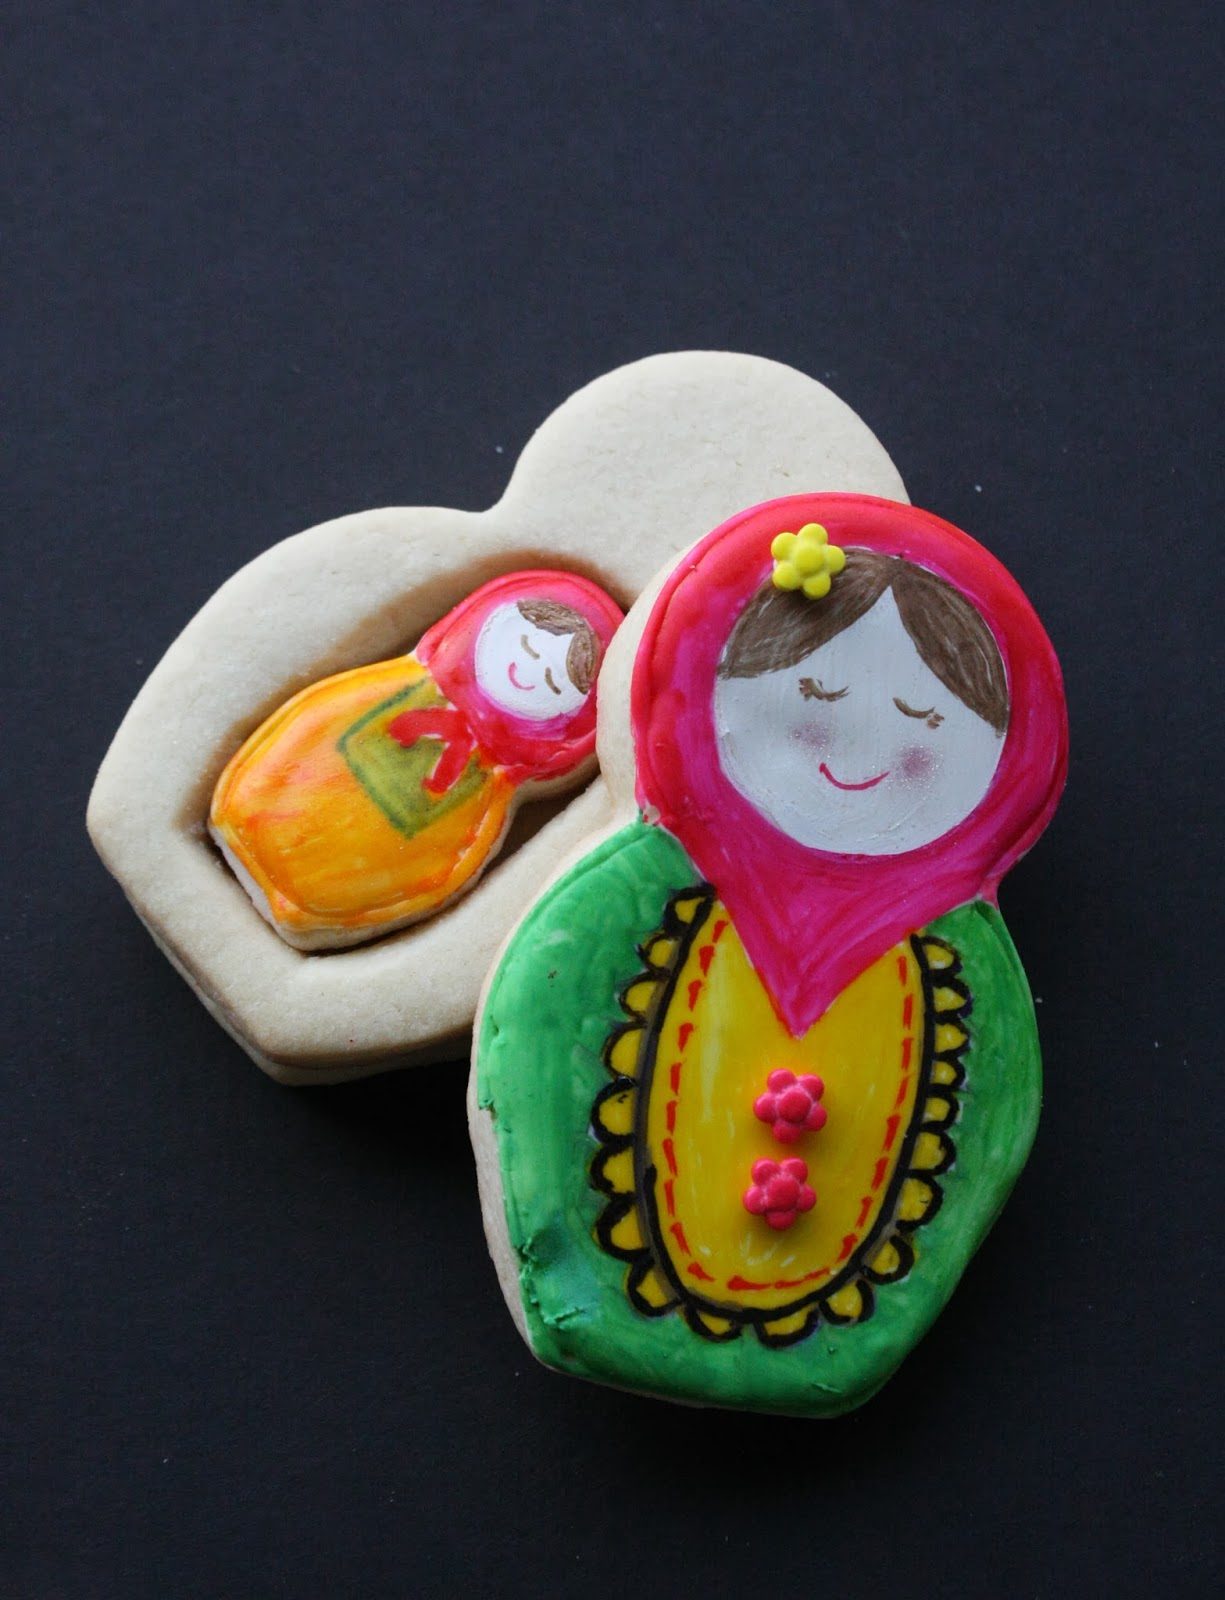
It is not too difficult to take off the top cookie when the time comes. Merely grasp it firmly and “slide” the top cookie to the side.
Babushka Cookies
Ingredients:
Nesting doll cutters (4-inch, 2-inch)
Round cutters (for faces)
Small, sharp knife
Food gel colors
Sprinkles
Disco dust
Swabs
Small paint brushes (for food only)
Edible food marker
Water
Directions:
1. Bake sugar cookies (3 large and 1 small for each complete Babushka) according to recipe
2. Using a small, sharp knife, cut an opening in one of the large cookies from each set (either before or after baking). If before baking, cut the opening on the cookie sheet and place the baking sheet in freezer before baking. If after baking, cut the opening while the cookie is still warm/soft. In both cases use the small cutter as a guide for determining the size of the opening.
3. Outline and fill in the the large cookies (just the top cookies) with untinted royal icing. Let dry.
4. Using the round cutters and an edible marker, trace a “face” on the top cookies, and the smaller cookies using the wide opening of a decorating tip.
5. Mix colors according to your liking for the base color of the faces. Let dry.
6. Paint the facial details and hair. with the small brushes and the gel food coloring. Use water to clean brushes between colors and paper towels to dry the brushes, if need be.
7. Paint the rest of each cookie (top cookie only), including the smaller ones, and let dry.
8. Embellish each cookie as desired, using royal icing to add sprinkles.
9. Put cookies together: Place a large cookie on bottom, outlining along the edges with royal icing.
10. Add the large cookie with the opening on top of that one, setting the small cookie inside. Outline the edge of that cookie with royal icing.
11. Place the final, decorated cookie on top of the middle cookie. Let dry completely.
Have Fun!
Linked to:
I’m Lovin’ it Party
Kitchen Fun and Crafty Friday