 Once upon a time there were two amazing Cookiers, Sugarbelle (Callye) and Lilaloa (Georganne). They were loved and admired by many, from far and wide, for their crazy decorating skills and kindness, and in time were considered cookie royalty.
One spring day, these two Cookie Queens each gave birth to a Cookie Princess,…on the same day! All the other cookiers in the land celebrated by decorating cookies, and throwing a virtual baby shower…
 Three Cookie Stars, Hani (Haniela’s), Michelle (Make Me Cake Me) and Mike (Semi Sweet) organized this fun, virtual cookie get-together and have appropriately themed it, “Your Royal Highness”. Thanks so much for inviting me to participate!

I made these simple, princess wand cookies, adorned with royal icing transfer baby faces, sugar pearls, and bright pink sanding sugar. I’m “tickled pink” with the way they turned out:)
 I especially love the royal icing transfers, and need to thank Lisa (The Bearfoot Baker) for all the royal icing transfer inspiration!

Callye and Georganne, Congratulations on the birth of your beautiful baby girls! I hope you enjoy all the cookie sweetness and love being sent your way today!
Princess Wand Cookies
Ingredients:
(Sugarbelle’s 20 second) Royal Icing
Baby face Royal icing transfers (made a couple of days ahead)*
Wilton Rose concentrated paste food coloring
CK sugar pearls
Cake Mate pink sugar crystals
Lollipop sticks
FooDoodler fine point black food coloring marker
FooDoodler pink marker
Directions:
1. Mix cookie dough according to recipe.
2. Roll out dough about 3/8-inch thick.
3. Cut out dough with star cutter and place on baking sheet.
4. With a small, sharp knife, make a small slit in the bottom of the star, and gently insert a lollipop stick to the center of the star.
5. Bake cookies.
6. Let cookies cool completely.
7. Tint the royal icing with the rose food coloring.
8. Outline and fill the stars with the royal icing.
9. Add a sugar pearl to each star tip.
10. Drop the (royal icing transfer) baby face onto the center of each star.
11. Let cookies dry.
12. Using the royal icing, pipe on some swirls on each star section, and then liberally cover with the pink sugar.
13. Leave it to dry for an hour or so, and then dump off the excess sugar.
*Royal Icing Transfers:
Tint some royal icing to the skin color of your preference.
On wax paper make some filled circles from the royal icing and let dry completely
When they are completely dry, at least 24 hours, gently peel from the wax paper.
Using the black food marker, apply a face and a hair curl.
With the pink marker, add the cheeks.
Be sure and check out all the adorable and creative cookies linked below!
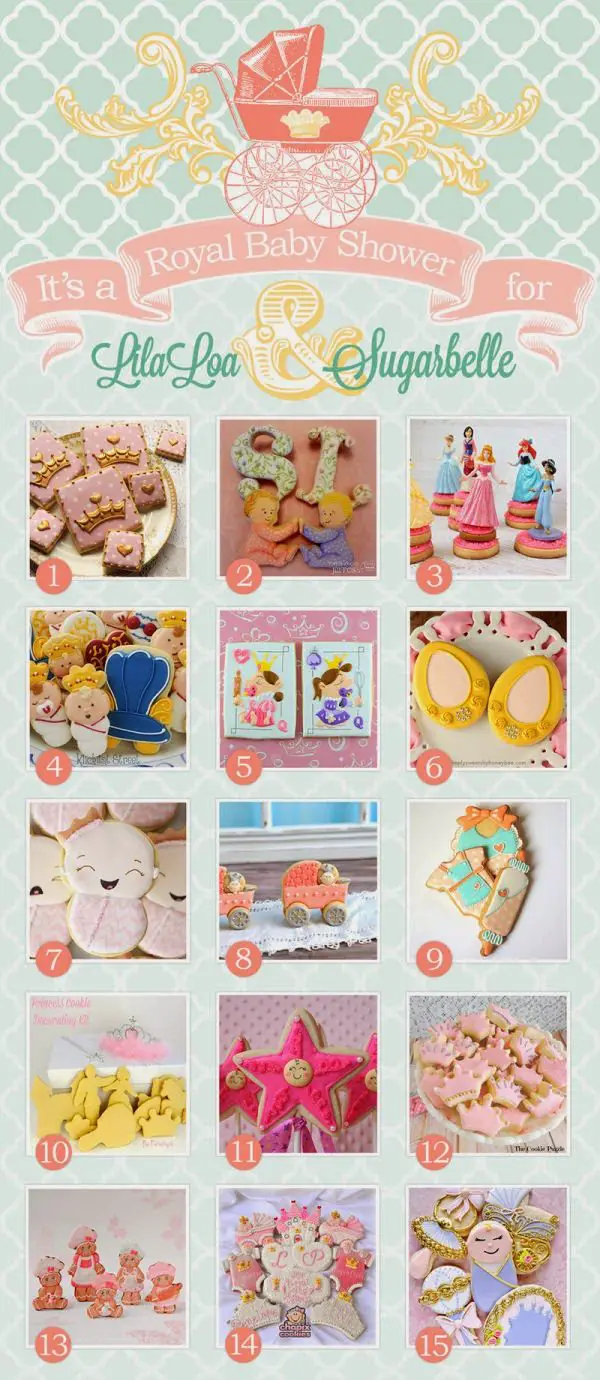
1. Sweet Ambs
2. Jill FCS
3. The Decorated Cookie
4. Klickitat Street
5. Semi Sweet
6. Simply Sweets by Honey Bee
7. Make Me Cake Me
8. Haniela’s
9. Montreal Confections
10. The Partiologist
11. Munchkin Munchies
12. The Cookie Puzzle
13. De-Koekenbakkers
14. Chapix Cookies
15.Ali Bee’s Bakeshop

