 Cookie inspiration can be found in unexpected places. My black lab, Riley, needed a new collar and I wanted to get her a cute, cookie related collar to replace her worn-out cupcake collar which inspired me to make cupcakes (of course). I even made black lab “pupcakes”!
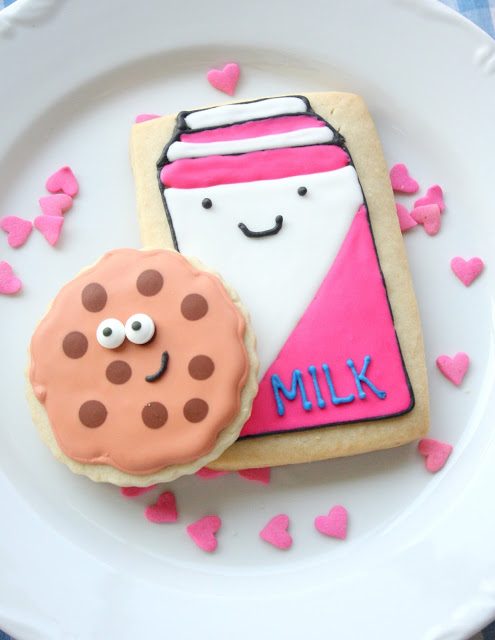
On the search I found a couple of chocolate chip cookie collars, a Cookie Monster collar, and even a macaron collar (next in line), but when I landed on this Milk and Cookies (BFF) collar, I knew I had found just the right one, with cookie inspiration to boot:) (Can someone out there help me to kick this habit of adding smiley faces to the end of way too many sentences?!?) I guess I kind of like smiley faces, and these cookies offer more evidence.
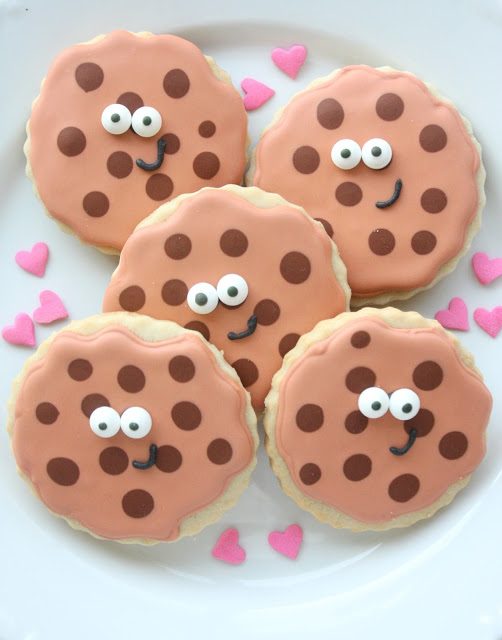 I have wanted to make decorated sugar cookies disguised as chocolate chip cookies ever since I first saw Callye’s (of SugarBelle’s) adorable version, and then Toni’s (of Make Bake Celebrate) cuties. If you haven’t visited their sites, you must! Callye is a cookie wizard, also offering helpful tutorials and support to other cookie decorators. Toni’s site is full of happy, sweet treats and brightly colored sprinkles.
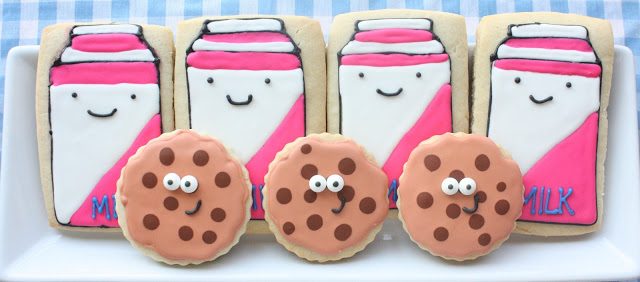
The dog collar has “BFFs” on it. I wonder what the “s” is for? Best Friends Forevers?? Perhaps Best Forever Friends? Maybe they made a mistake.
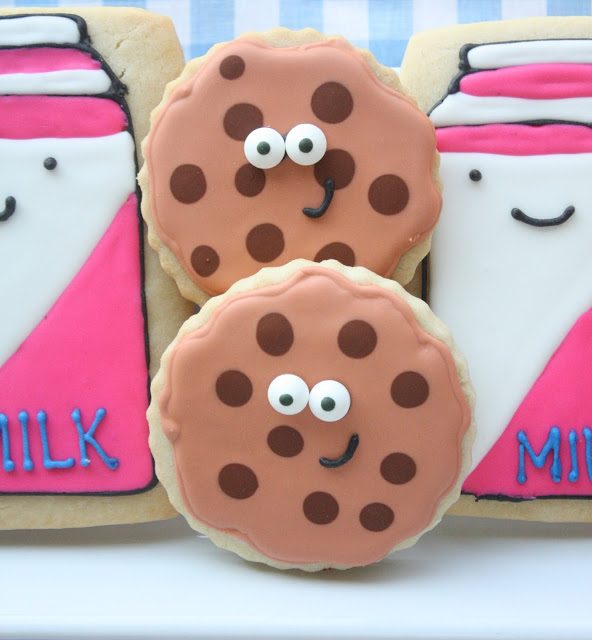
Anyhow, here are some of the best friends lined up together. (It bothers me a little bit that the carton on the right is not “standing up” straight.)
I had a best friend named Cindy from 4th-8th grade and we always signed off our notes (there were many!) with “BFF”. We were ahead of our time:)
Give some of these cookies to your own BFF, or anyone that needs a smile.
Milk and Cookies COOKIES
Ingredients:
AmeriColor gel paste food colors:
ivory, warm brown, chocolate brown, super black, electric blue and electric pink
Candy eyes (This is the brand I use and the colors I had on hand.)
Round cookie cutter (I used a slightly “wavy” edged round cutter.)
Rectangle cookie cutter
Directions:
1. Roll out dough (about 3/8-inch thick) and cut out shapes with cookie cutters.
2. Place cookies onto baking sheets and bake according to recipe.
3. Let cookies cool completely.
4. Divide royal icing into six portions (leave one portion white).
5. Decorate the cc cookies~For the choc. chip cookie base I mixed warm brown and added drops of ivory until I had achieved the color I wanted. Add the choc. brown gel to another portion of the icing for the “chips” and make sure it’s the same consistency as the base icing. Working 2-3 cookies at a time outline and fill the base icing (#3 tip) and then add the chips to each cookie (#3 tip). This technique is called wet-on-wet. Let cookies dry completely, overnight if possible.
6. Decorate milk carton cookies~Freehand the shape (or make a template) and with an edible marker draw the carton onto the cookie.
7. Outline the milk carton with black royal icing. Let it dry for about an hour.
8. Apply the white icing to the carton (see photo). Let it dry for about an hour.
9. Add the pink tinted royal icing. Let the cookies dry completely (along with the cc cookies) overnight.
10. Attach the candy eyes with a tiny dab of royal icing.
11. With the black royal icing, add the eyes and mouth to the milk, and the mouth to the cc cookie.
12. Use the blue icing and write “milk” on the milk carton.
13. Let cookies dry.
Linked to:
Kitchen Fun and Crafty Friday
I’m Lovin’ it Party
Link Party Palooza