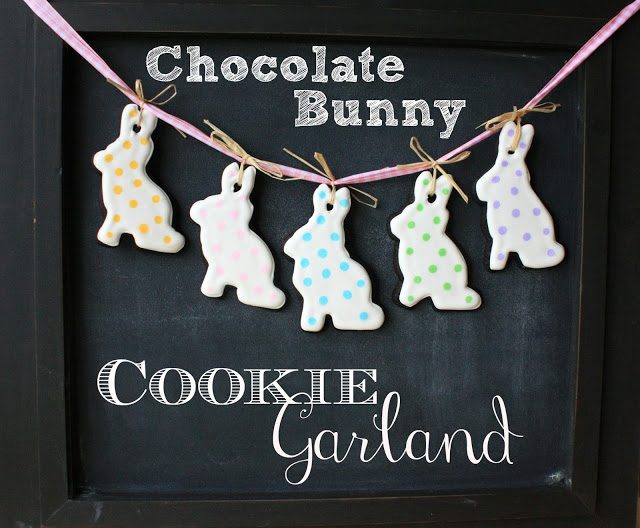
 I have been meaning to make a cookie garland for a very long time, so was quite happy when my friend, Hani (of Haniela’s) invited me to participate in her Easter Extravaganza! It provided the perfect push I needed to make something that I haven’t made before. Since chocolate bunnies abound at Easter I thought it would be the perfect time to make chocolate bunny cookies, and used Georganne’s (Lilaloa) The End-All for Chocolate Cookies Recipe. The name says it all! 🙂
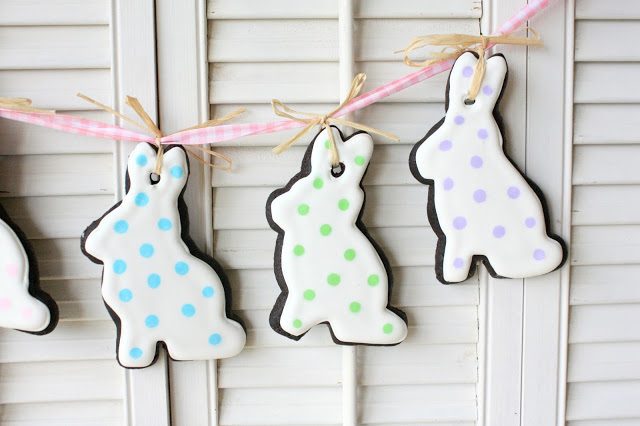
For the cocoa I used what I had on hand, which was Hershey’s Special Dark Cocoa. It made the cookies a deep, rich, chocolate brown. If you are a chocolate lover, you must try this cookie recipe, and if you’re not a chocolate lover, this cookie recipe just may convert you:)
 I was also happy to decorate the bunnies with polka dots. I followed the tips from the polka dot Queen herself, Bridget (Bake at 350) and was successful with the wet-on-wet royal icing technique, which has not always been the case for me. I love how they turned out!
Chocolate Bunny Cookie Garland
1. Make a batch of Lilaloa’s chocolate cookies 2. Make a batch of royal icing
3. When rolling out the cookies, roll them thinner than usual since they will be hanging, and bake them a little longer than usual so that they will be more firm.
4. Immediately after baking, use a drinking straw to make a hole in each cookie, in a stable spot.
5. Let cookies cool, and firm up, completely.
6. Outline cookies with royal icing and let dry for about 20 minutes.
7. If making polka dots, divide up small portions of the icing and add food coloring to each. Keep the rest of the royal icing white. All the royal icing should be the same consistency (the white and the polka dots).
8. Place each of the colored icings in an icing bag with a #3 tip. Fill about three cookies at a time with the white, and then add the polka dots. Repeat until you are all done.
9. Let the cookies dry overnight.
10. Thread raffia (or ribbon) through the hole in each cookie.
11. Tie each cookie to the main ribbon, spacing them as you’d like.
12. Hang up your garland and admire!
Hani, Thanks so much for organizing this fun event!
Please be sure and check out all the fabulous projects in this Easter Extravaganza~
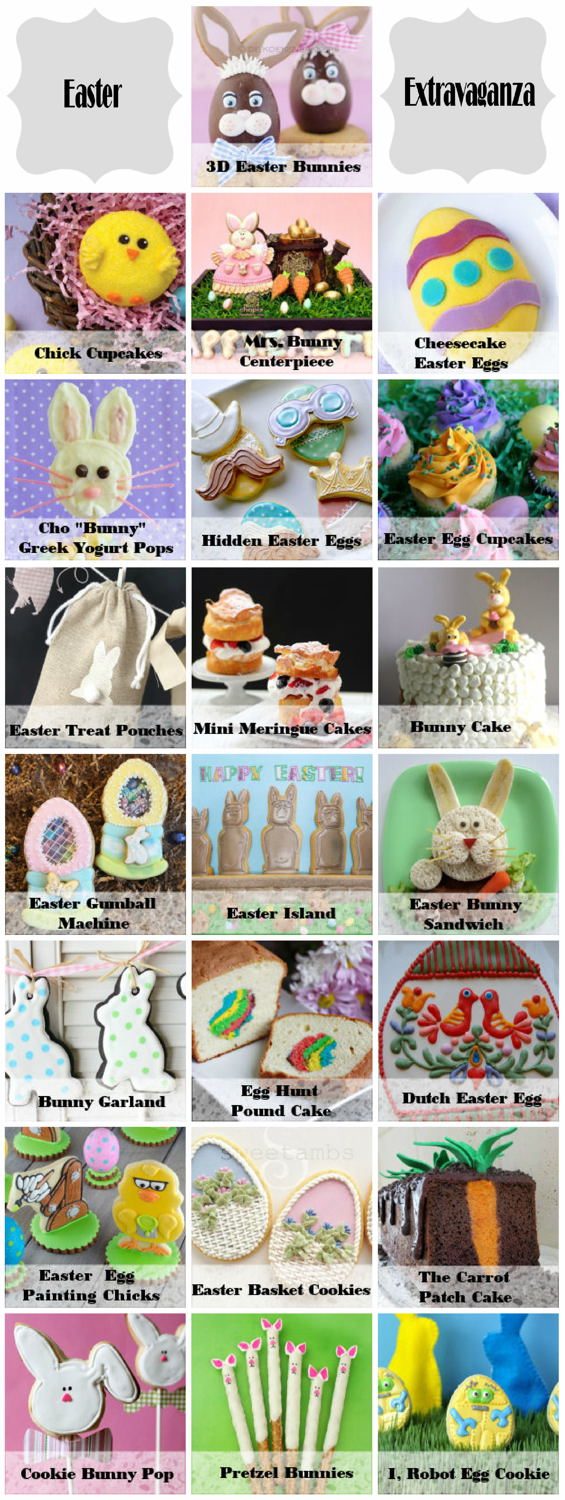 3D Easter Bunny by Marielle – De Koekenbakkers
Chick Cupcakes by Robin – Bird On A Cake
Mrs. Bunny Centerpiece by Myriam – Chapix Cookies
Cheesecake Easter Eggs by Beth – Hungry Happenings
Cho “Bunny” Greek Yogurt Pops by Jill – Kitchen Fun With My 3 Sons
Hidden Easter Eggs by Stephanie – Ellie’s Bites
Easter Egg Cupcakes by Liz – Hoosier Homemade
Easter Treat Pouches by Elena – Just Me
Mini Meringue Cake by Karyn – Pint Sized Baker
Bunny Cake by Kathia – Pink Little Cake
Easter Gumball Machine by Marlyn – Montreal Confections
Easter Island by Laura – A Dozen Eggs Bake Shoppe
Easter Bunny Sandwich by Michelle – Creative Food
Bunny Garland by Sue – Munchkin Munchies
Egg Hunt Pound Cake by Jennifer – Not Your Momma’s Cookie
Dutch Easter Egg by Lorraine – Lorraine’s Cookies
Easter Egg Painting Chicks by Mike – Semi Sweet
Easter Basket Cookies by Amber – Sweet Ambs Cookies
The Carrot Patch Cake by Kim – The Partiologist
Cookie Bunny Pop by Meaghan – The Decorated Cookie
Pretzel Bunnies by Sarah – Miss CandiQuik
I, Robot Egg Cookie by Hani – Haniela’s
Linked to:
Kitchen Fun and Crafty Friday
I’m Lovin’ it Party
From Dream to Reality