Haniela’s Easter Bunny Cake Munchkin Munchkins’ Funny Bunny
Ombre Cake
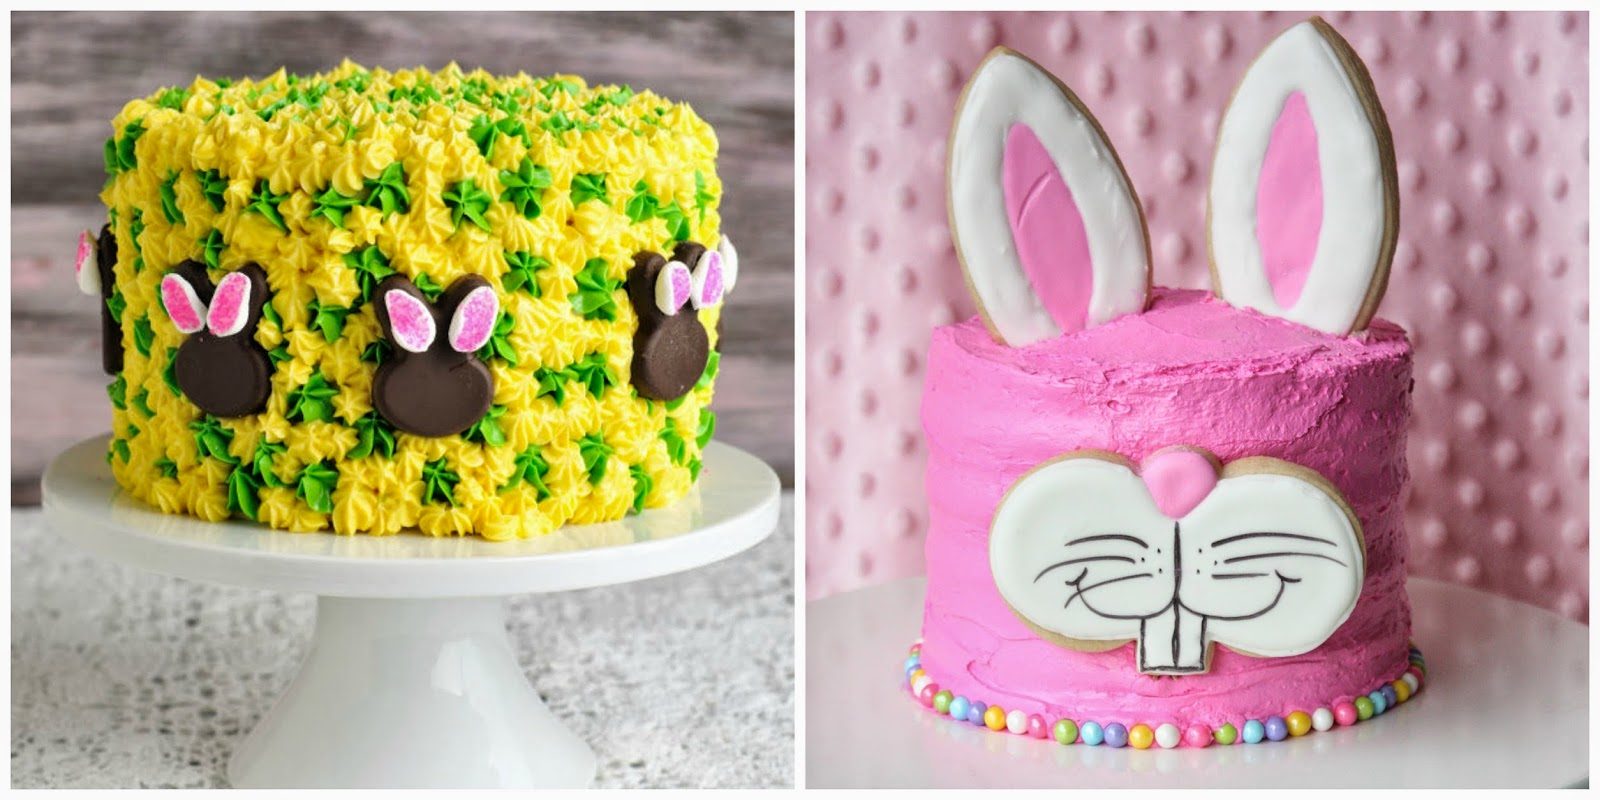
I am always tickled when my friend, Hani, of Haniela’s, invites me to do a collaboration with her. 🙂 This time it’s a bunny collaboration, and as you can see we were on the same wavelength when we each made a cake, as opposed to cookies. It was meant to be! 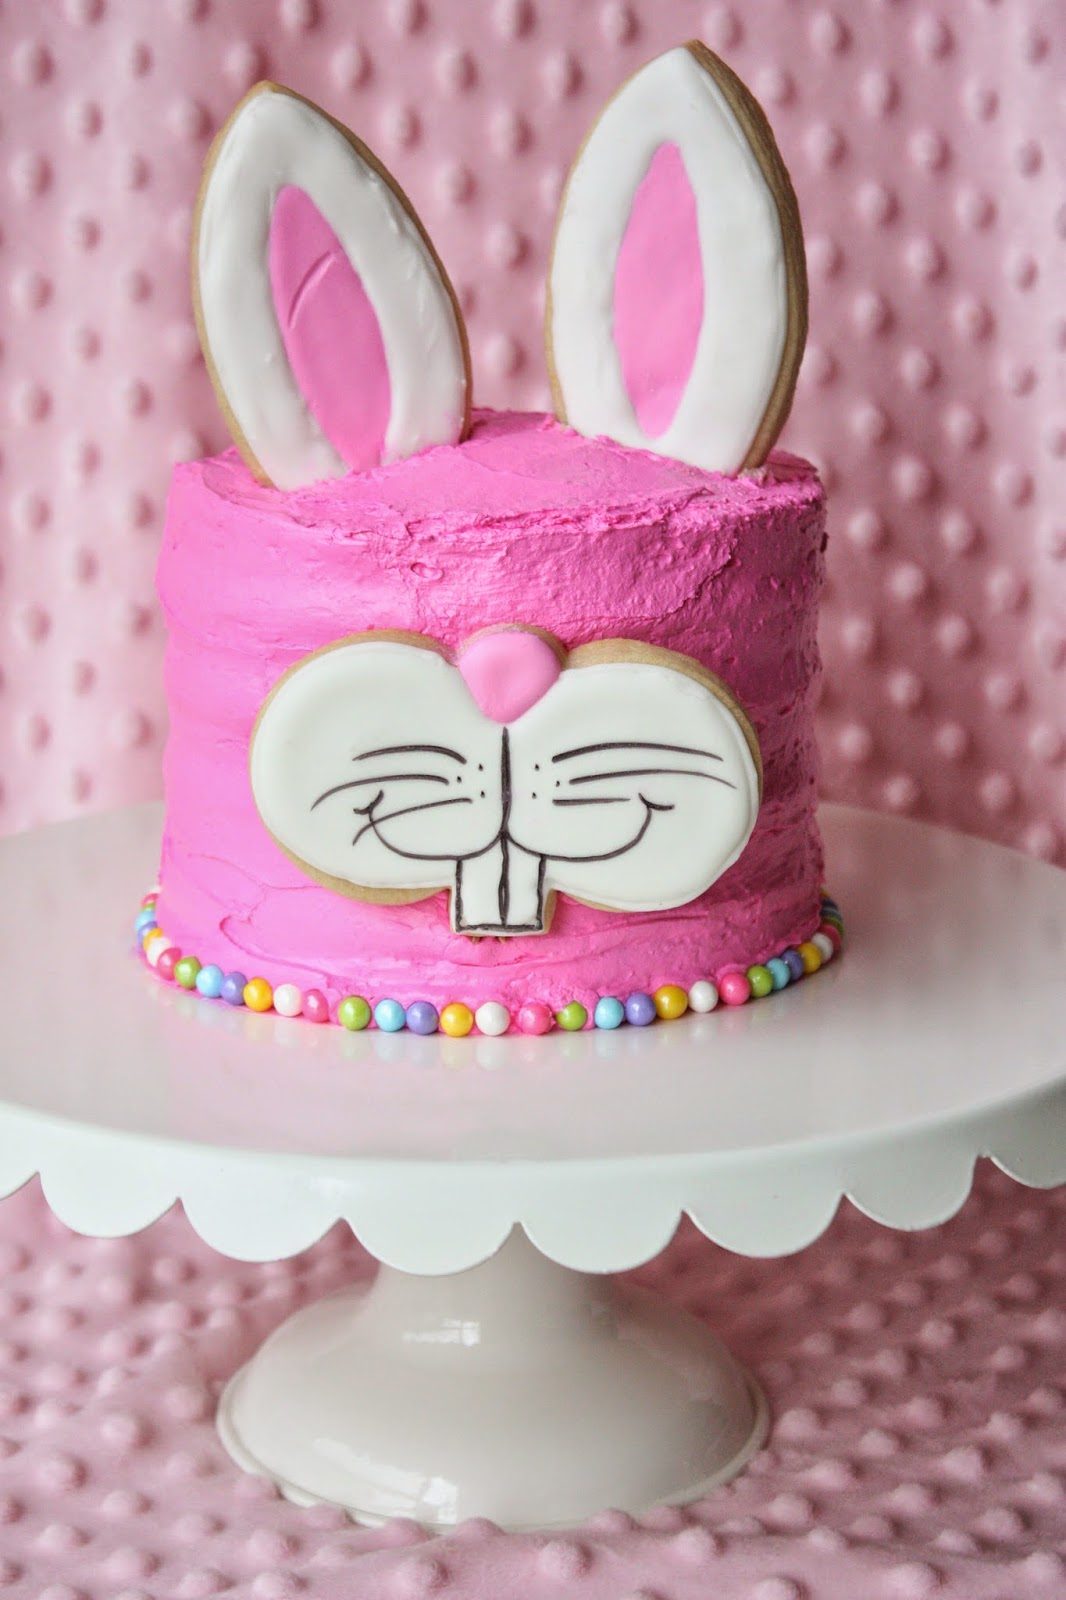 This cake offered me the opportunity to do something a little different with my new bunny cookie cutters. The ear cutter was made (and given to me) by Bobbi of Bobbi’s Cookies & Cutters, designed from my “bunny cookies and milk” cookies. They are actually made to go on the rim of a glass, but I thought they’d be perfect for this Funny Bunny cake. The bunny muzzle cookie was made by Tracy of Whisked Away Cutters, designed from my funny bunny cookie design. Bobbi also made a “funny bunny” cutter. It was so fun working with these two talented gals!
Whisked Away Cutters offers different sizes for the cutter; I used the 4-inch size for the cake.
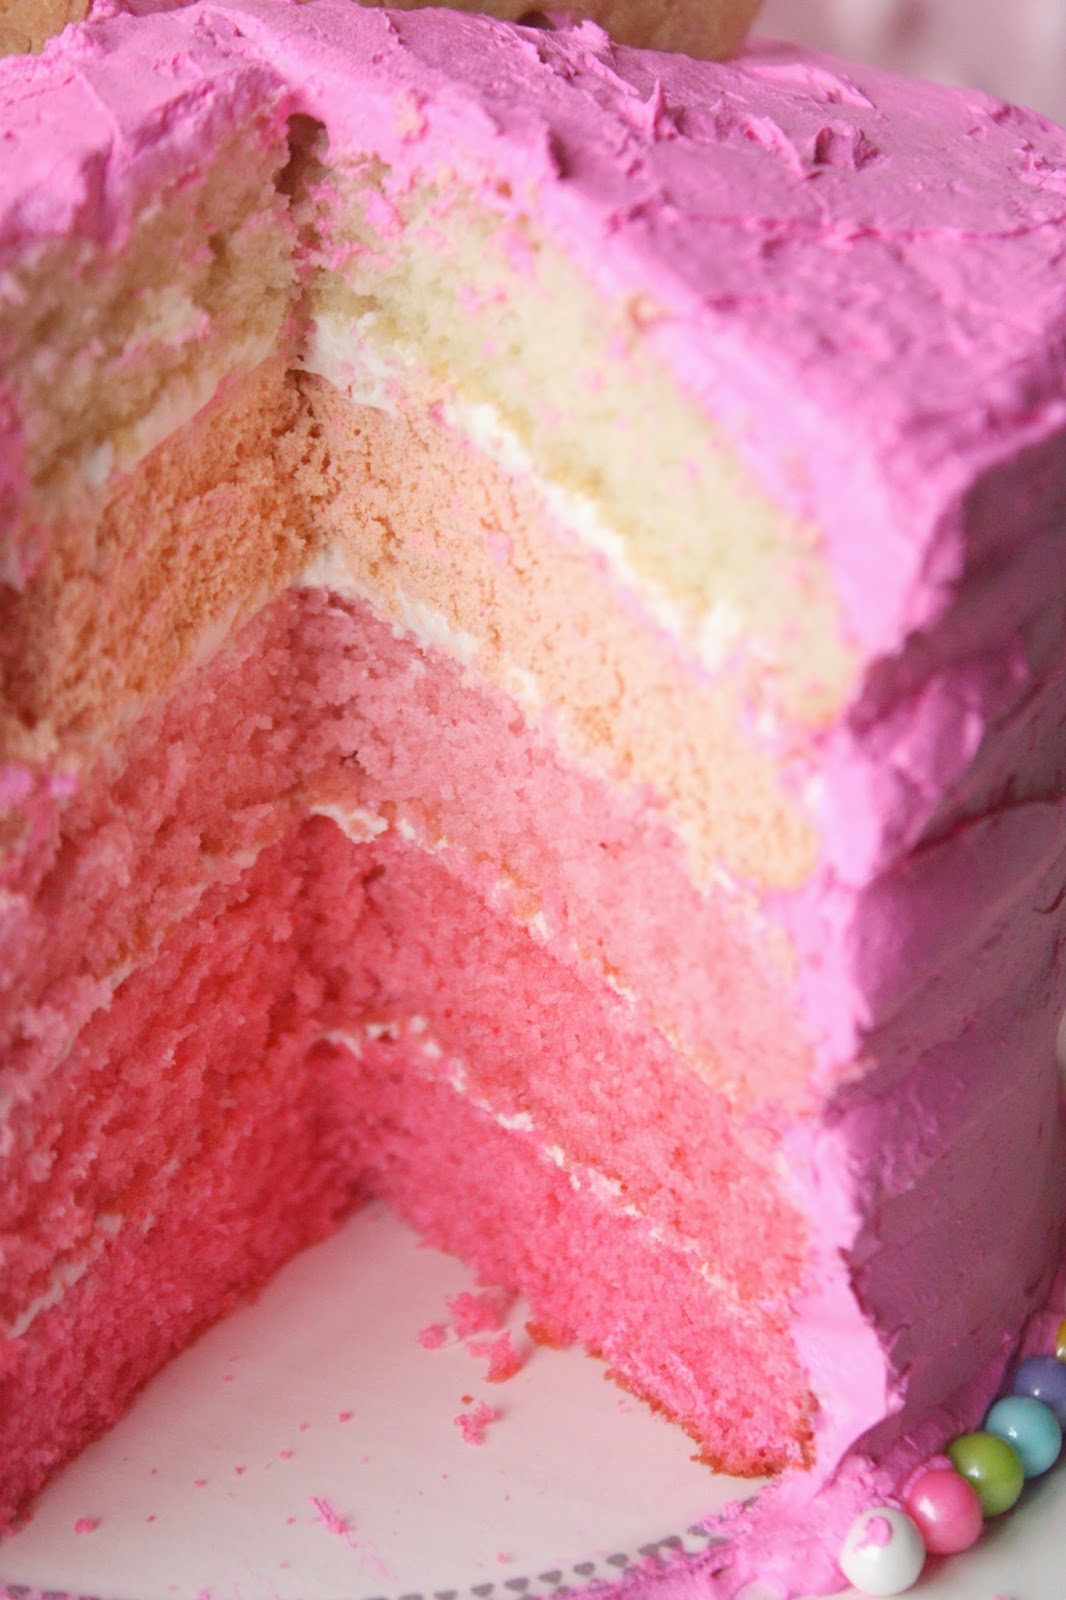
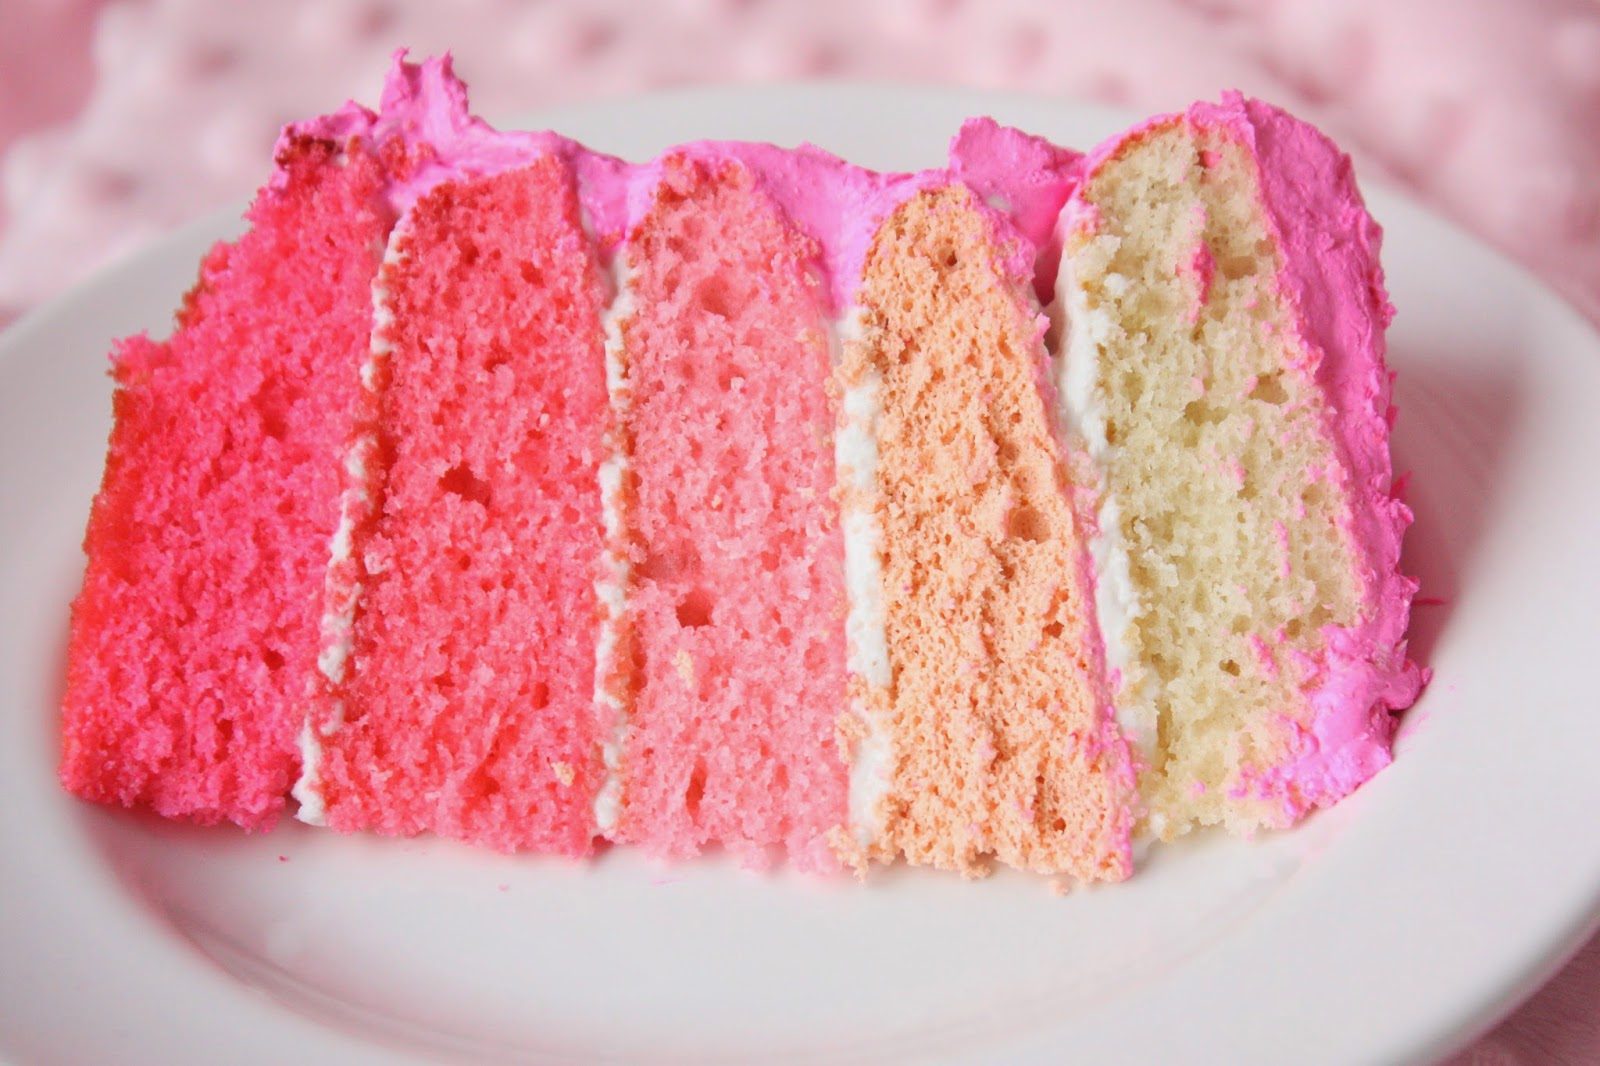
I knew I wanted to make an ombre cake, since I never have. I even made it from scratch, which isn’t always the case, using this recipe from Wilton, though I did use pre-made buttercream.
I was pretty happy with the pink ombre reveal.
The bottom border was decorated with SweetWorks Celebration Pearls. 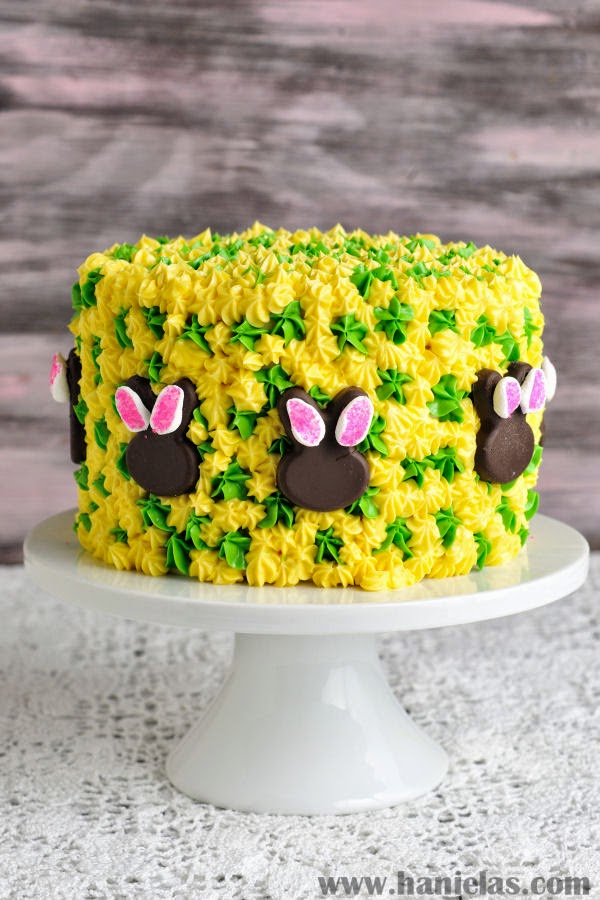
Haniela’s cake is so cheery, bright, and perfect for spring/Easter!I love the contrast of the chocolate bunnies. Hani has a wonderful video on making the cake, posted on her youtube channel. If you haven’t subscribed to her channel, you should! I really enjoy her videos, and they are so instructive! 🙂
Click HERE for the link to the video.
Thanks, Hani!
Funny Bunny Cake
Ingredients
1. Make the cake according to recipe linked above.
(My cake pans were 6-inch pans, but you can modify the cake according to the size of your pans.)
2. Buttercream icing (2-3 cups)
3. Pink gel food coloring
4. Ear and Bunny Face cookies* (Make cookies a day ahead)
5. Decorative candy (Sixlets)
6. Black food marker
Directions
1. Place the darkest cake layer on a cake board and spread with icing
2. Continue with cakes until you end up with the lightest color on top.
3. Frost the entire cake with the icing.
4. Attach the bunny face cookie by putting a dollop of icing on the back and pressing it firmly, but gently onto the cookie. Hold in place for a moment. (If it doesn’t hold, insert a couple of toothpicks underneath the teeth, or somewhere else to support the cookie, just don’t forget to remove the toothpicks when you eat the cake.)
5. On the top of the cake, use a small, sharp knife to make slits big enough to insert the ear cookies.
6. Gently press the candies into the bottom edge of the cake, making a pretty pattern.
*Cookies
1. Bake sugar cookies using this recipe.
2. Cut out parts of the bunny with cutters.
3. Bake cookies and let cool.
4. Make royal icing and tint some of it pink, leaving the rest white.
5. With a #3 tip and the pink icing, outline and fill the inside of the ears.
6. Outline and fill the nose with the pink icing also.
7. Let the pink icing dry for about 30 minutes, and then outline and fill the rest of the ears and the faces.
8. Allow the cookies to dry for 6-8 hours, or overnight.
9. Use edible marker to make details on the bunny face.
Have Fun and Happy Easter!
Linked to:
Kitchen Fun and Crafty Friday I’m Lovin’ it {Linky Party}